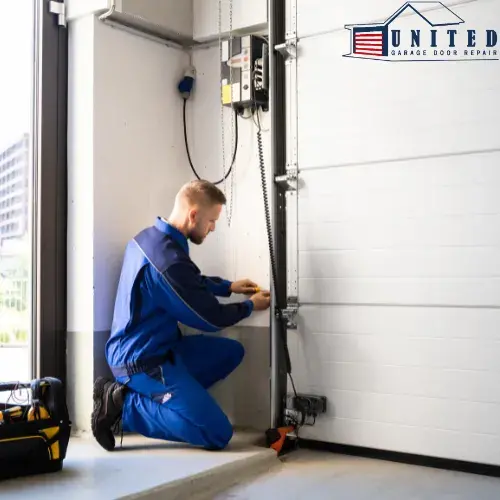
Before diving into a garage door springs replacement, preparation is key. Start by gathering the tools you’ll need: a sturdy ladder, safety glasses, work gloves, a wrench set, and locking pliers. These tools will help you work safely and efficiently.
Next, safety comes first. Garage door springs are under high tension, so always unplug the garage door opener and secure the door in place to avoid accidents. Locking the door ensures it doesn’t move unexpectedly while you work. Take a moment to inspect the current springs—are they torsion or extension springs? Knowing the type is crucial for buying the correct replacements.
Lastly, measure the old springs’ size and note their color coding, as these details determine the replacement’s compatibility. By setting up properly and ensuring safety, you’re already halfway to restoring your garage door’s functionality. Preparation makes the process smoother and less intimidating.
Step-by-Step Instructions for a Successful Garage Door Springs Replacement
Replacing garage door springs doesn’t have to be overwhelming if you break it into simple steps. First, loosen the unbroken spring. Using a wrench, carefully release its tension by unwinding it slowly. Remember to take your time—this is the most critical step.
Next, remove the old spring by detaching it from the brackets and torsion bar. This may require some elbow grease, but patience pays off. Once removed, position the new spring in place, ensuring it’s securely attached. Check that it’s the correct size and tension type for your door.
Finally, tighten the new spring, winding it to the proper tension. This step is where precision matters. Test the door’s balance by manually lifting it—it should stay in place halfway. Reconnect the garage door opener, and you’re done! These steps might sound technical, but with focus and care, you’ll have your garage door running like new.
Post-Replacement Tips to Ensure Smooth Garage Door Functionality
After completing your garage door springs replacement, a few final steps can help ensure smooth operation and long-term durability. First, test the door’s functionality by opening and closing it a few times. Watch for any jerking motions or odd noises, which could signal misalignment.
Next, check the door’s balance. Disconnect the opener and lift the door halfway—it should stay in place without falling or rising. If it doesn’t, the spring tension might need adjusting. For lubrication, apply a garage door-specific lubricant to the springs, hinges, and rollers. This reduces wear and keeps the mechanism running smoothly.
Lastly, inspect other components like cables and brackets to ensure they’re in good condition. Addressing minor issues now can prevent bigger problems later. Regular maintenance, such as monthly lubrication and periodic balance checks, will help you avoid costly repairs and keep your garage door working seamlessly.
Read More:
Enhanced Safety: How Garage Door Springs Replacement Protects Your Family
Unusual Noises and Jerky Movements: Key Indicators for Garage Door Springs Replacement

